Fresh Strawberry Pie
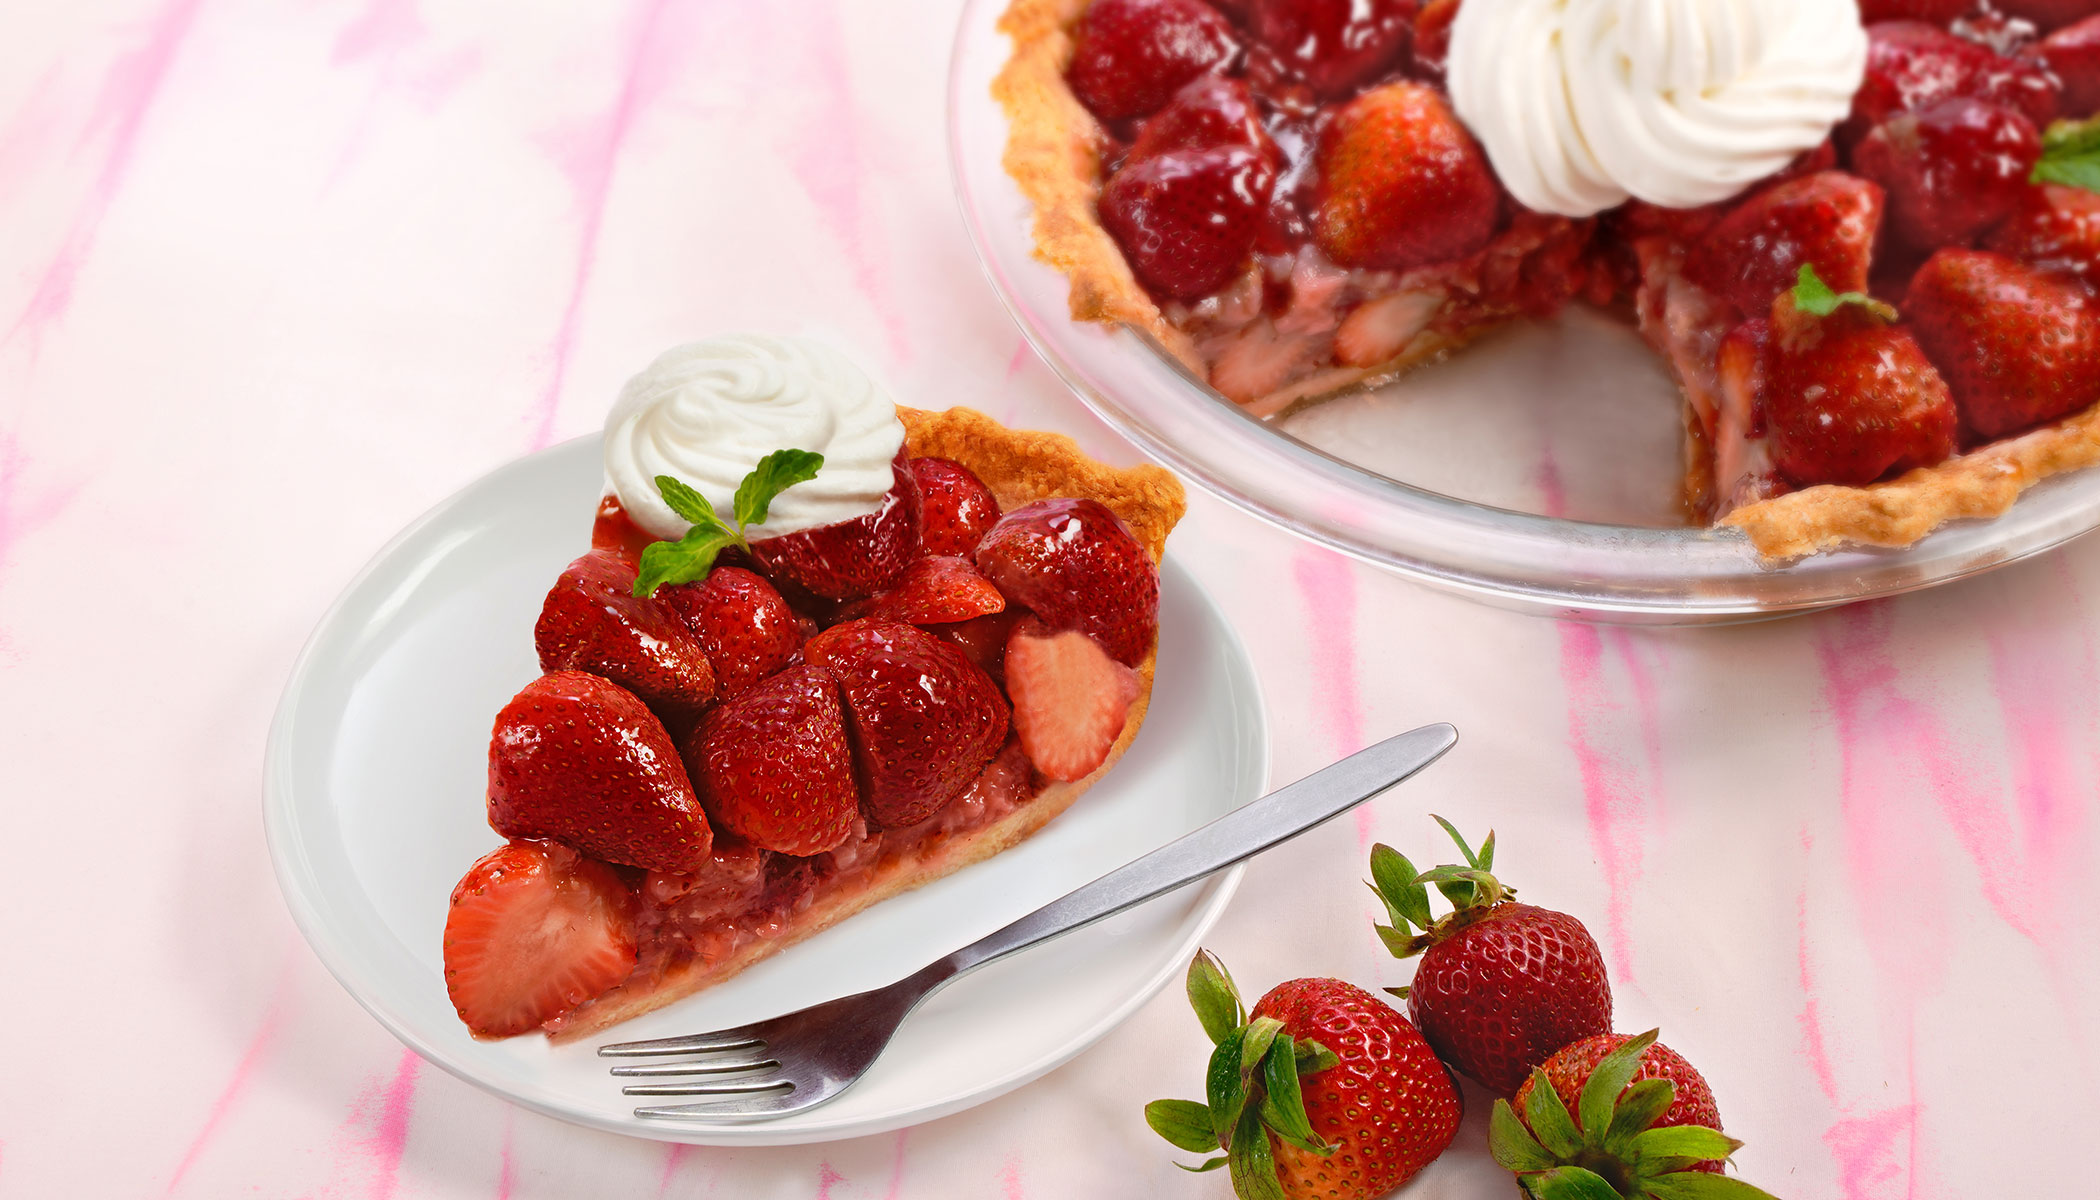
Packed with fresh strawberries and topped with strawberry glaze, and whipped cream. A perfect tea time snack.

Ingredients (makes a 9-inch pie):
For Pie Crust:
For Filling:
For Topping:
*You will need a 9-inch pie pan and a large piping bag with a tip.
*This recipe was developed for the Micom Toaster Oven (ET-ZLC30). Adjustments may be necessary when using other models.
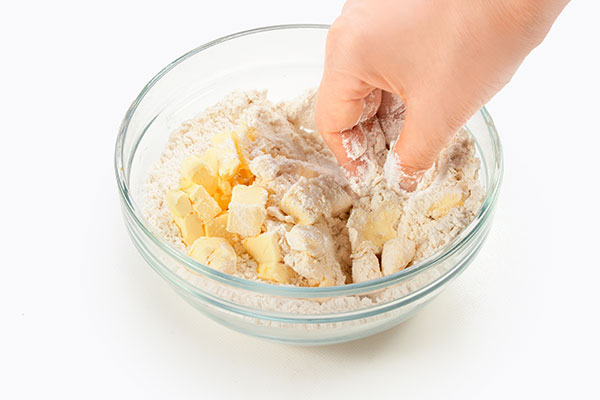
Make the pie crust. In a large bowl whisk together flour, sugar and salt. Add cold butter to the flour mixture. Using your fingertips, combine ingredients until the mixture has a coarse sand-like texture.
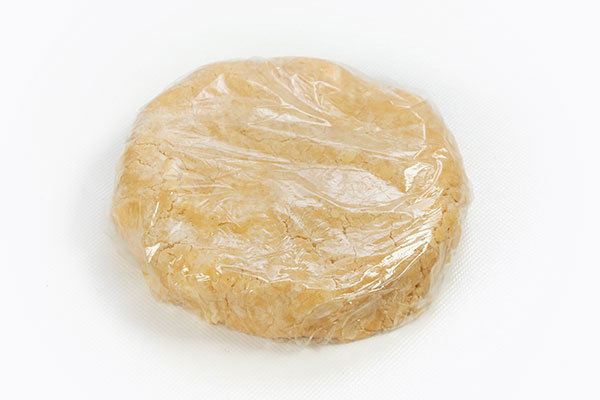
Add vinegar, 2 tablespoons of ice water, and mix with a spatula. Using your hands, shape the dough into a flat circle. If the dough is too dry or crumbles apart, add an additional 1 tablespoon of water and mix. Repeat as needed until the dough holds together. Wrap with plastic wrap and refrigerate for 30 minutes to an hour.
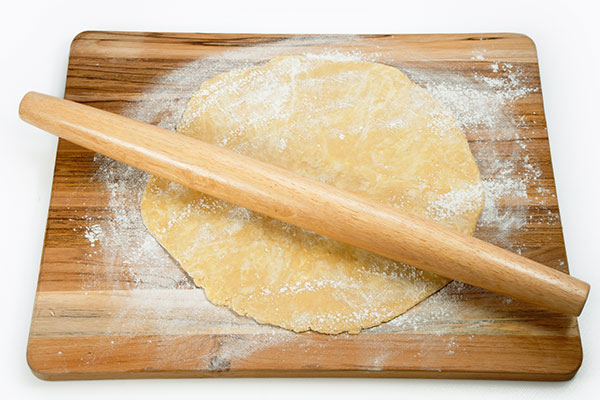
When the dough is ready, place the dough on a lightly floured board. Use a rolling pin to flatten the dough into a 12" circle about 3/16” thick.
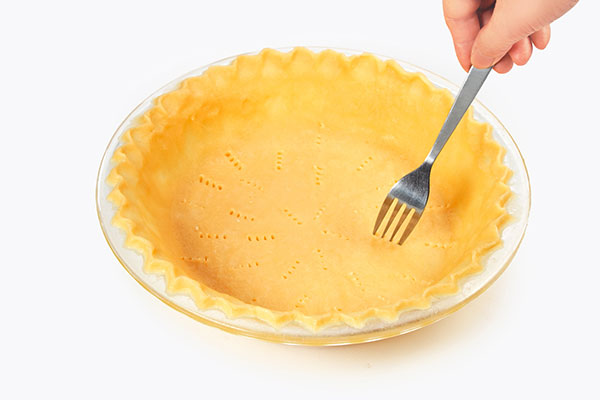
Carefully transfer the dough to the pie dish. Trim the excess dough, and pinch the edges to form a crust. Using a fork, poke holes evenly on the bottom of the crust to allow steam to escape and keep the crust from bubbling up. Cover with plastic wrap and refrigerate for another hour.
Tip: To transfer the dough into the pie dish, roll up the dough to a lightly floured rolling pin. Starting at the top of the pie dish, unroll the dough, adjusting it to the center of the pie dish.
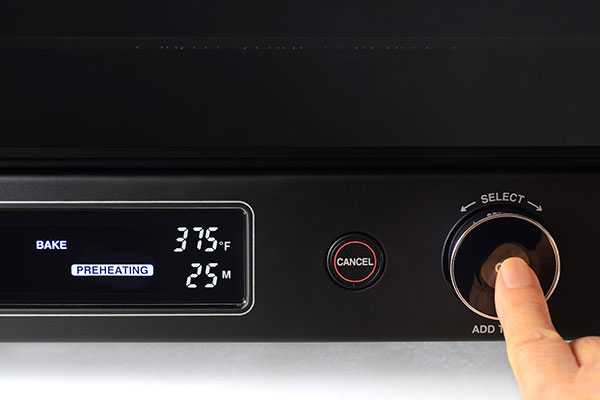
Bake the crust. Place the rack of the Micom Toaster Oven (ET-ZLC30) on the lower rail. Turn the Dial to select BAKE. Set the temperature and time to 375°F and 25 minutes and press the OK button to begin preheating.
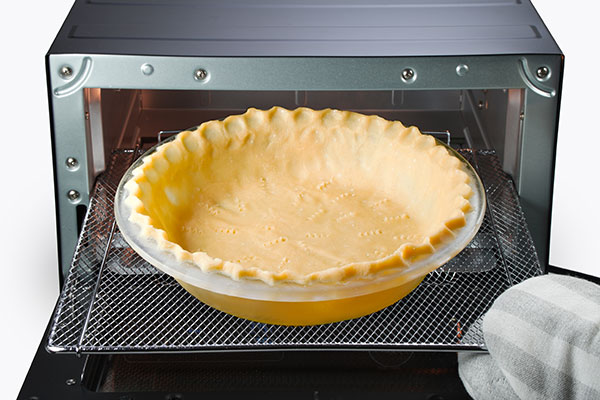
When preheating is complete, place the crust in the oven and press the OK Button to start baking. Bake until the crust is golden. Press the CANCEL Button twice to turn off the power. Remove the crust from oven and allow to cool.
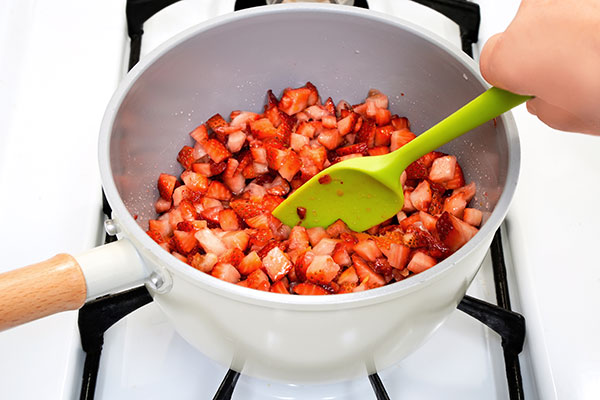
Make the filling. In a saucepan, combine diced strawberries, sugar and lemon zest. Stir constantly and cook over medium heat for 5 minutes. Turn heat off.
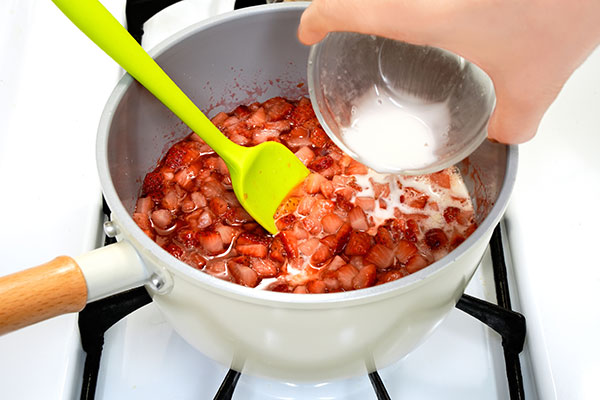
In a small bowl, mix cornstarch, water and lemon juice. Gradually stir in the cornstarch slurry in the saucepan from step 7. Turn back to medium heat, continue to stir, bring to boil and cook to get a thick glue-like texture, about 2 minutes. Remove from heat and cool down for 15 minutes.
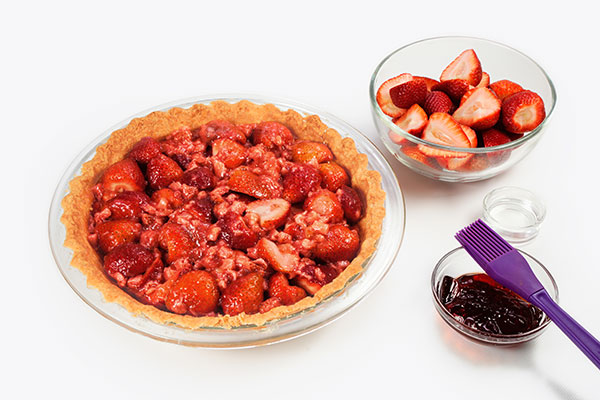
Cut 2 lbs. of strawberries in halves and set aside about 28 pieces for topping. Combine the remaining strawberries and mixture from step 8 in a bowl, then pour into the pie crust. Top with strawberry halves. Thin out strawberry jelly with water and brush to glaze on top. Place the pie in the refrigerator to chill for 2 hours.
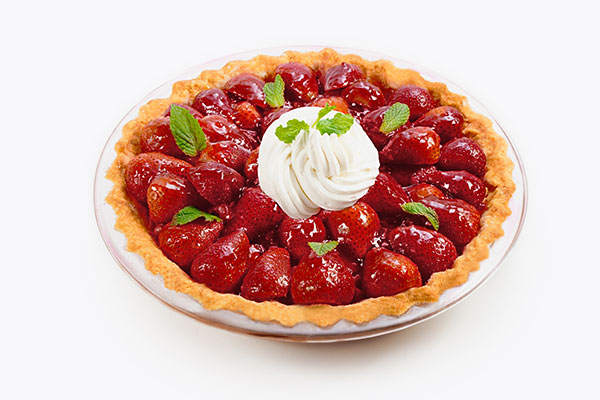
In a cold bowl, place heavy cream, sugar and vanilla extract, and whip until stiff peaks. Pipe the whipped cream or use a spoon to place dollops on the pie. Arrange some mint leaves on top. Enjoy!
PRINT:


