Month: November 2019
Foreign Foods in Japan –
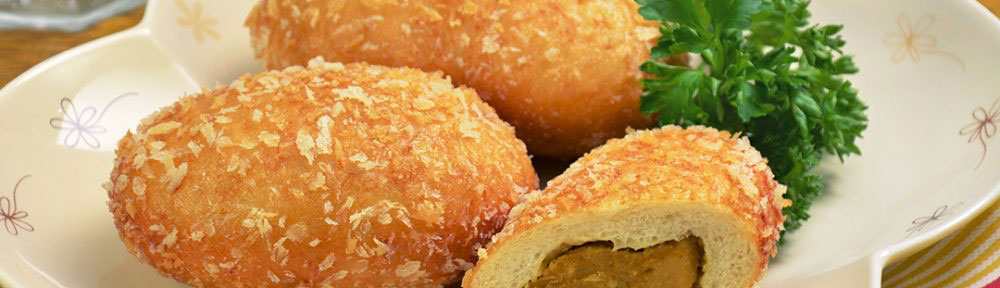
Piroshiki!Read more: Foreign Foods in Japan –So many of our Foreign Foods in Japan have come from Europe, the US and…
Piroshiki!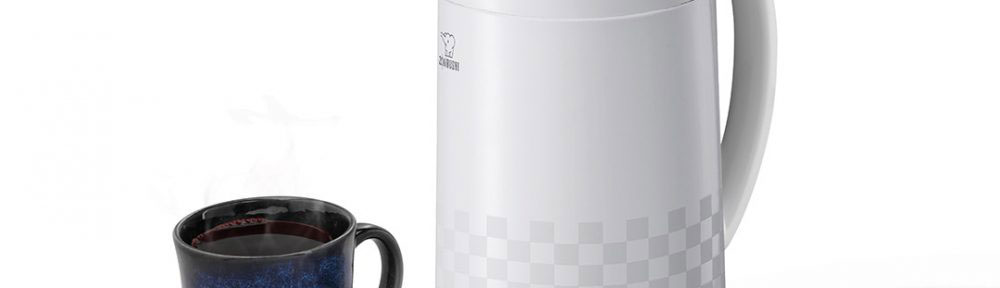

Product Inspirations –
Premium Thermal Carafe Ichimatsu Collection (AFFB-10)Read more: Product Inspirations –Our vacuum insulated mugs, bottles and carafes come with three different types of innovative inner…
Premium Thermal Carafe Ichimatsu Collection (AFFB-10)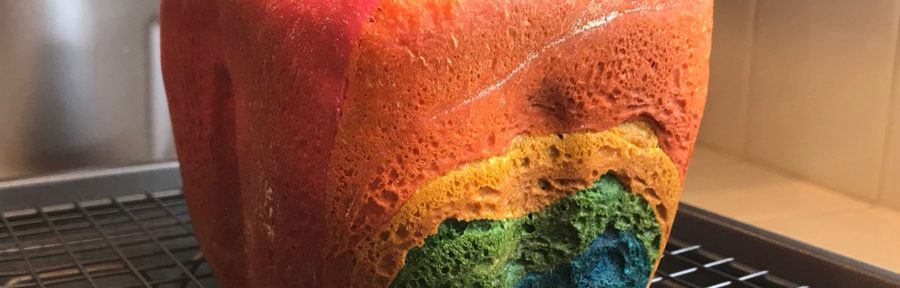

Bert-san’s Take—Zojirushi Breadmaker
Read more: Bert-san’s Take—Zojirushi BreadmakerWho knew I could actually bake? And that my Rainbow Bread could look so beautiful?…
Design Explained –
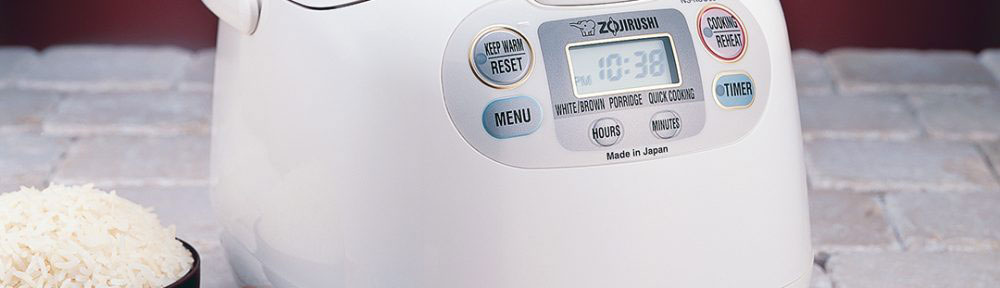
Our Signature Tune!Read more: Design Explained –Our rice cookers and water boilers are practical. They’re technologically advanced. They’re stylish. And they’re…whimsical!…
Our Signature Tune!