Category: From Bert-san
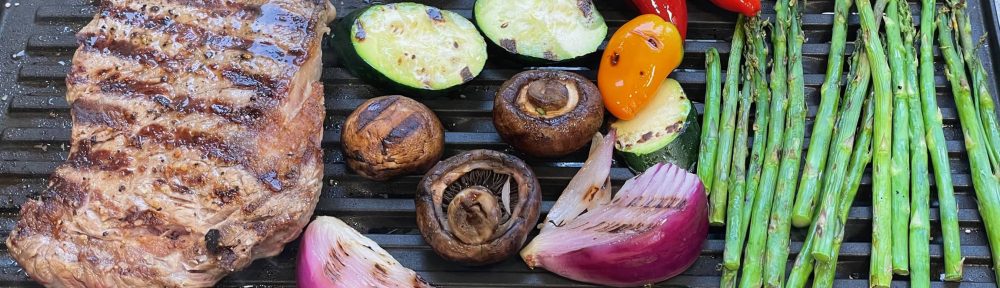
The Thrill of the Grill
Read more: The Thrill of the GrillGrilling season has started and we’re ready to rock and roll at our house. Mind…
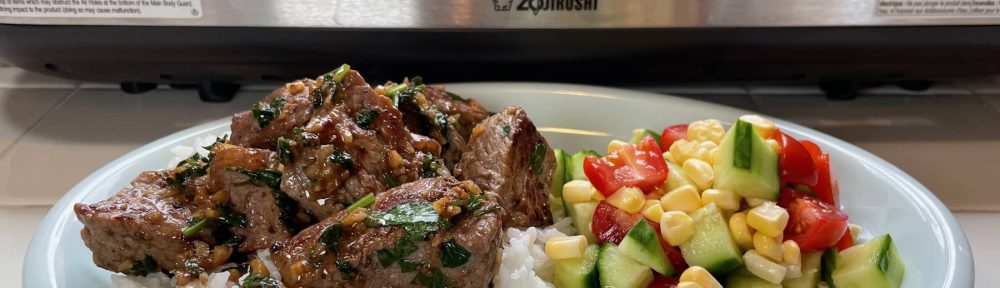

Testing Zojirushi Recipes
Read more: Testing Zojirushi RecipesHave you ever tried any of the recipes on the Zojirushi site? This month I…
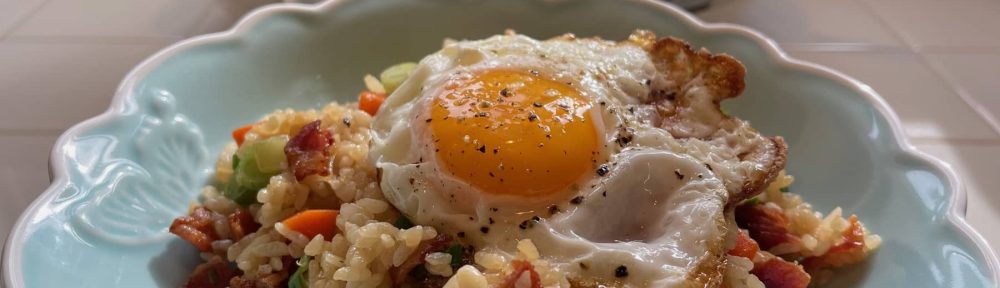
Bert-san’s Kitchen Hacks
Read more: Bert-san’s Kitchen HacksWhat are these? They’re miso balls! Huh? Did you know you could pre-make these little…
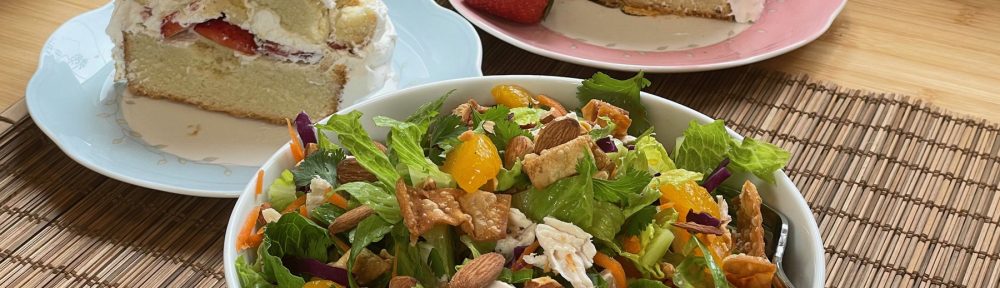
Do the Spring Thing
Read more: Do the Spring ThingIs everyone ready for Daylight Savings Time? Don’t forget it’s “spring foward” on March 10th.…
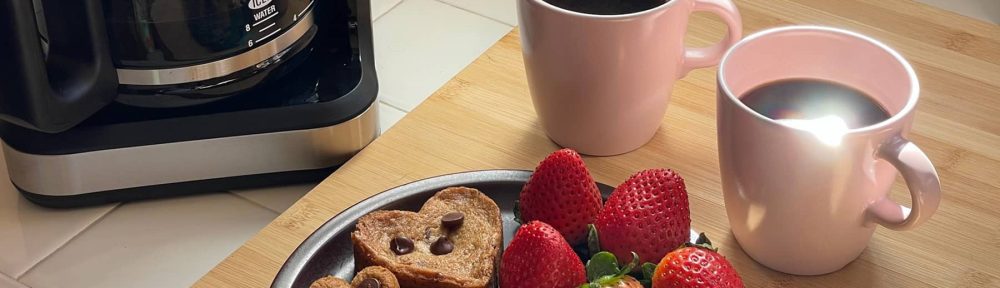
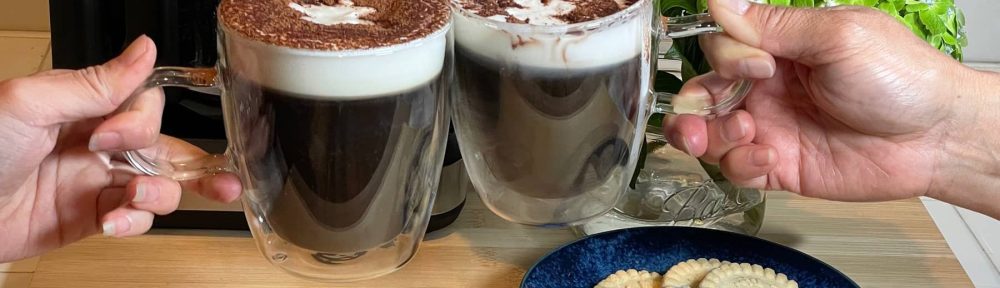
Love Bites
Read more: Love BitesChocolate chip cookies and coffee must be a match made in cookie heaven, agree? I…